Learning
The e-learning consists of 20 modules that combine text and videos and are designed to be interactive. They invite you to respond to what you see, and reflect on its application to your own work or relationships.
Some of the modules are quite short, but some are longer and divided into sub-sections. On average they will take about 5 to 10 minutes, depending on how much time you take to reflect and respond. Most people take about two hours to complete the e-learning. The more you put in to the e-learning, the more you will get out of it. But many of the questions are optional.
It’s important to do the modules in order even if some of the early ones seem simple, because they build on each other. You can return to any module at any point during the e-learning to review the material. You can also do as many modules as you’d like at a time, and then take a break and come back later to do more.
You can keep track of your progress on your Profile page.
Click here to begin.
Learning Modules

Introduction & Registration for Learning
This video describes who I am and what the Project is about…. Learn More
Module 1.0 Tell Us About Yourself
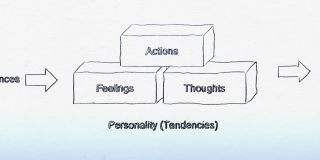
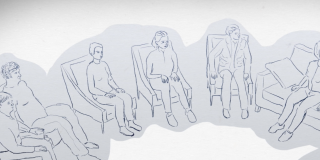
Module 2.0 What is Personality Disorder?
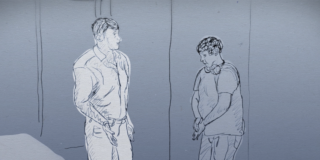
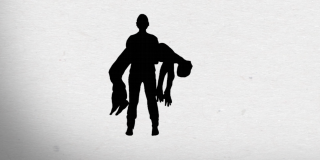
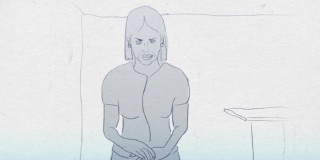
Module 3.0 Jason & Arun – Home Visit
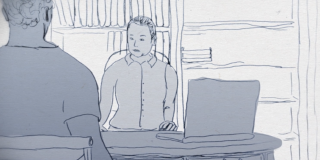
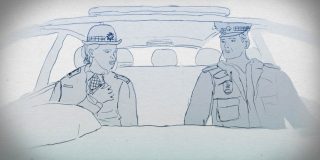
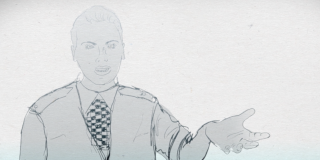
Module 4.0 Jason & Dr Williams – Office Visit
Module 5.0 Introducing The Rescue-Blame Trap
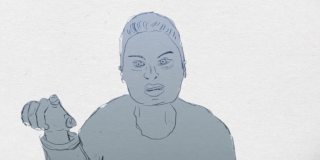
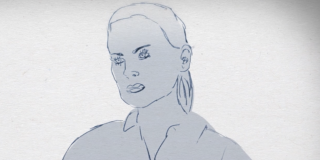
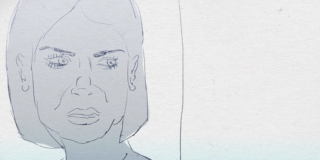
Module 6.0 Amy, Sarra & David – Rescue
Module 6.1 Amy, Sarra & David – Rescue
Module 6.2 Amy, Sarra & David – Rescue
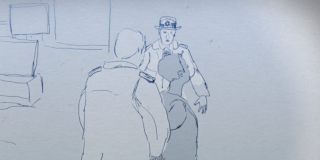
Module 7.0 Amy, Sarra & David – Blame
Module 7.1 Amy, Sarra & David – Blame
Module 7.2 Amy, Sarra & David – Blame
Module 8.0 Splitting & Switching
Module 8.1 Splitting & Switching
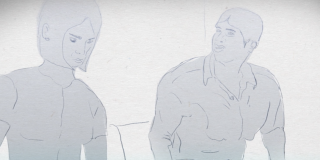
Module 9.0 Natasha & Arun – Rescue & Blame
Module 9.1 Natasha & Arun – Rescue & Blame

Module 10.0 Natasha & Arun – Splitting & Switching
Module 10.1 Natasha & Arun – Splitting & Switching
Module 11.0 The Rescue-Blame Trap – Review
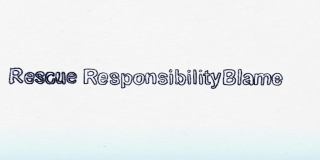
Module 12.0 Responsibility and Escaping the Trap

Module 13.0 Arun – Responsibility not Rescue
Module 13.1 Arun – Responsibility not Rescue
Module 14.0 Dr Williams – Responsibility not Blame
Module 14.1 Dr Williams – Responsibility not Blame
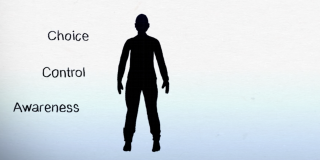
Module 15.0 The Idea of Responsibility
Module 16.0 Amy & Sarra – Responsibility without Blame
Module 16.1 Amy & Sarra – Responsibility without Blame
Module 17.0 Natasha & Arun – Responsibility without Blame
Module 17.1 Natasha & Arun – Responsibility without Blame
Module 18.0 Natasha & Arun – Final Scene
Module 18.1 Natasha & Arun – Final Scene
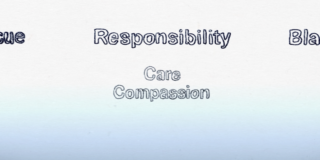
Module 18.2 Wrap Up – Responsibility with Care
Module 19.0 The Self-Rescue & Self-Blame Trap
